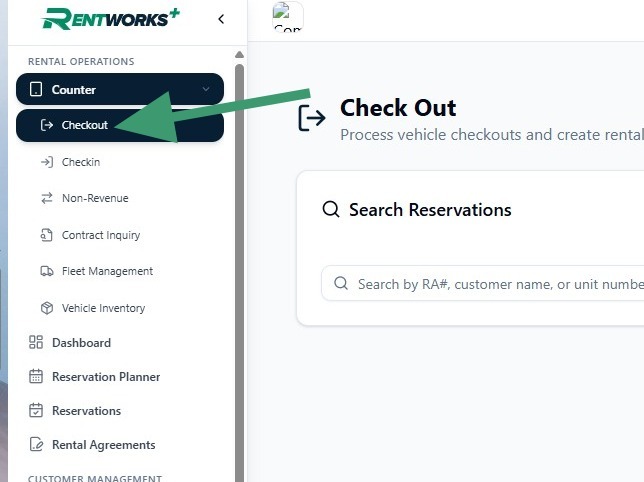
Navigate to Checkout
1. From the sidebar, select Counter, then click Checkout.
Find the reservation
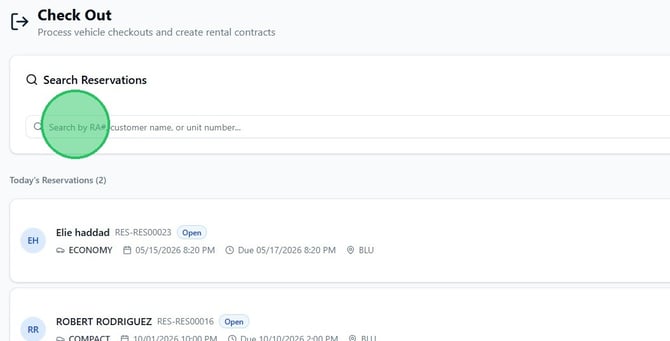
2. The Check Out screen shows today's reservations. Search by RA number, customer name, or unit number to find a specific reservation, then click it to open the checkout wizard.
Review driver information
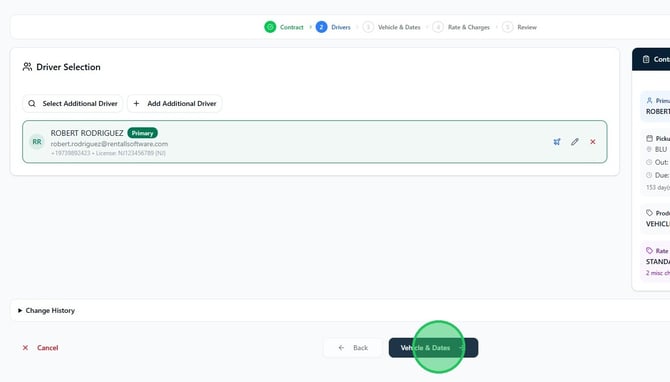
3. On the Drivers step, confirm the primary driver's details. Use Select Additional Driver or Add Additional Driver if needed, then click Vehicle & Dates to continue.
Set vehicle readings and reservation details
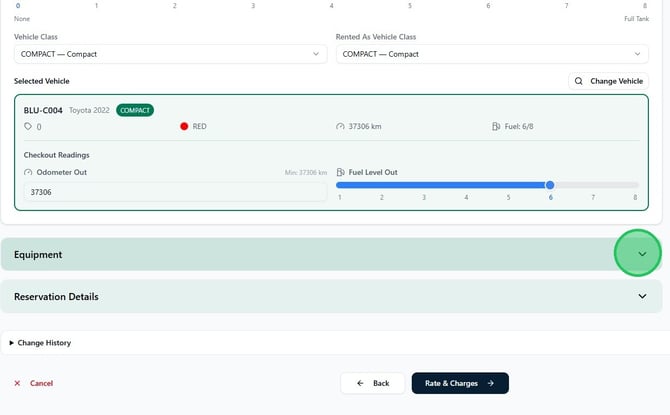
4. Confirm the selected vehicle. Enter the Odometer Out reading and set the Fuel Level Out slider to match the current fuel level. Expand Equipment to add any rental equipment.
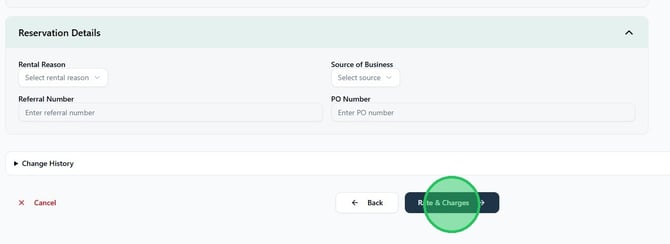
5. Expand Reservation Details to set a Rental Reason, Source of Business, Referral Number, or PO Number if required. Click Rate & Charges to continue.
Review rate and charges
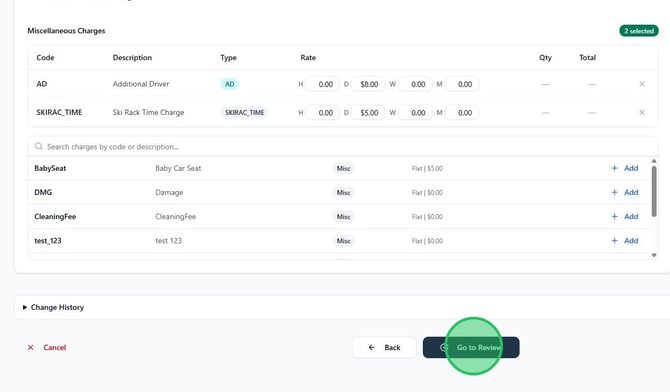
6. Confirm the rate plan and review any miscellaneous charges already applied. Add additional charges as needed by clicking Add next to each charge. Click Go to Review to continue.
Submit the contract
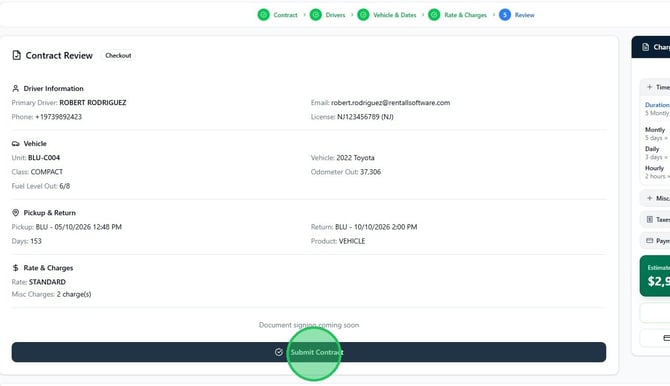
7. Review the Contract Review summary — driver, vehicle, pickup and return dates, and charges. When everything is correct, click Submit Contract.
Deliver the contract
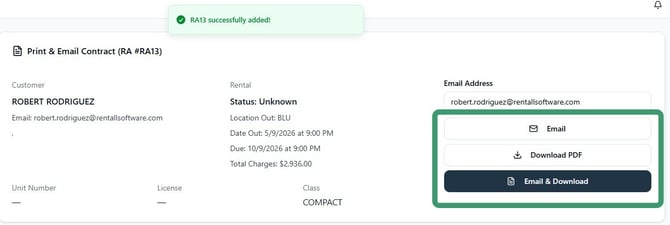
8. The contract is created and confirmed. On the Print & Email Contract screen, confirm the customer's email and click Email, Download PDF, or Email & Download to deliver the agreement.