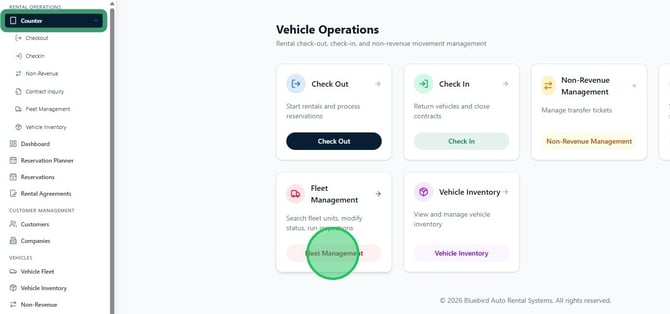
Navigate to Fleet Management
1. From the sidebar, select Counter, then click Fleet Management.
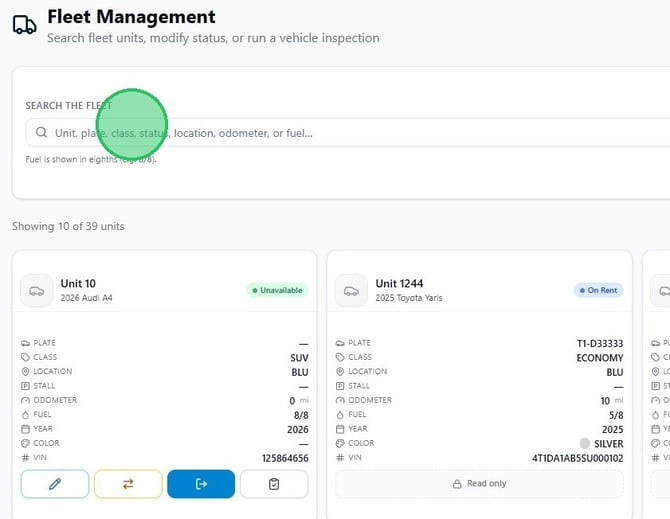
Search the fleet
2. The Fleet Management screen displays all fleet units with their current status, class, location, odometer, fuel level, and other details. Use the Search the Fleet bar to filter by unit number, plate, class, status, location, odometer, or fuel level. Fuel is shown in eighths (e.g. 6/8).
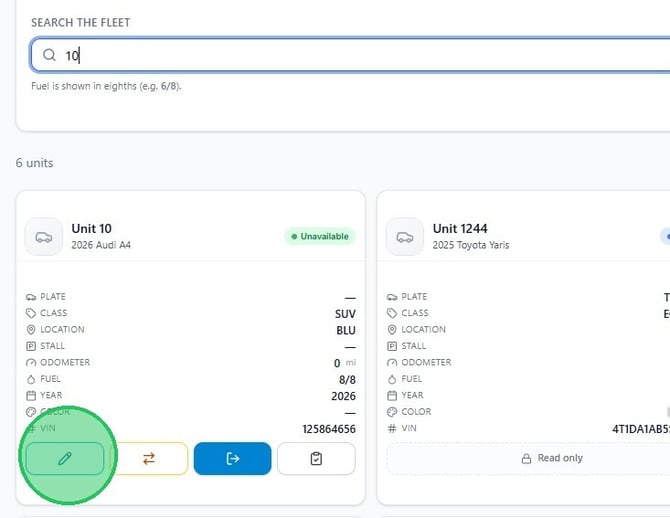
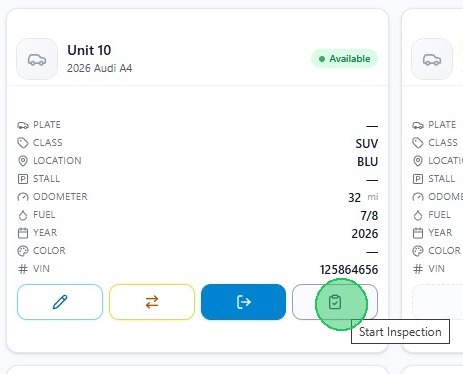
3. Results update as you type. Each unit card shows key details at a glance and a row of action buttons at the bottom.
Update vehicle status
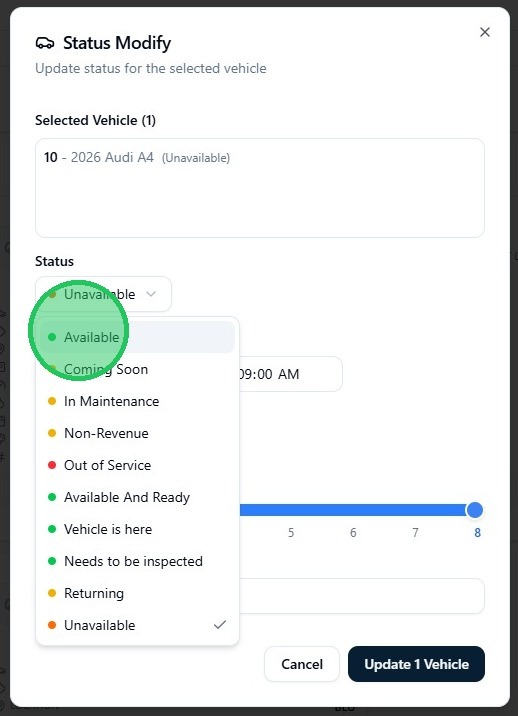
4. To change a vehicle's status, click the Edit button (pencil icon) on the unit card. In the Status Modify dialog, select the new status from the dropdown. Available statuses include Available, In Maintenance, Out of Service, Non-Revenue, and others configured for your location.
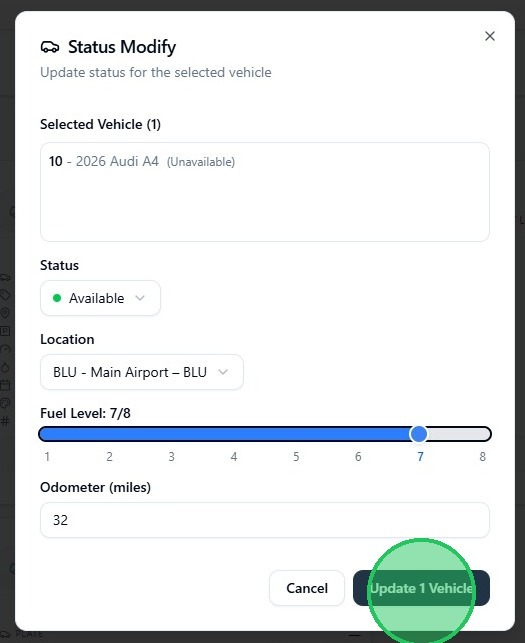
5. Update the Location, Fuel Level, and Odometer as needed, then click Update 1 Vehicle to save.
Open a non-revenue ticket
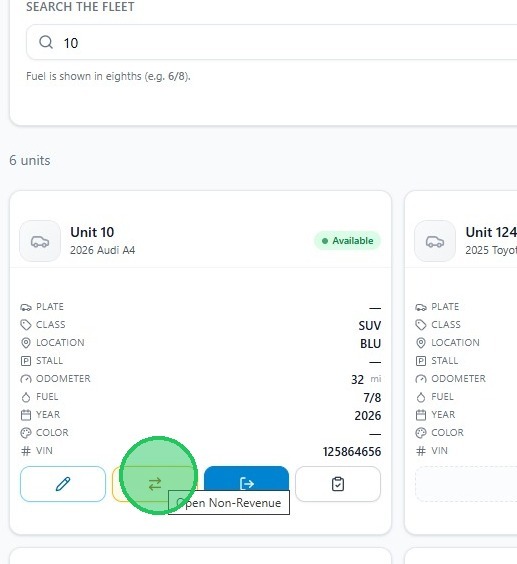
6. To open a non-revenue ticket for a unit, click the Open Non-Revenue button (transfer icon) on the unit card.
Initiate a checkout
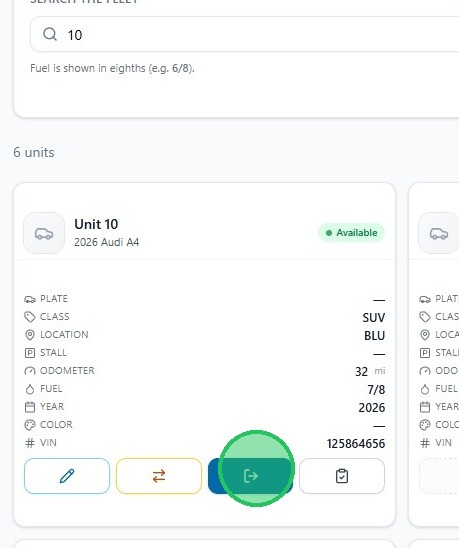
7. To start a checkout with the vehicle pre-selected, click the Checkout button (arrow icon) on the unit card. This launches the counter checkout flow with that unit already assigned.
Run a vehicle inspection
8. To start an inspection, click the Start Inspection button (clipboard icon) on the unit card.
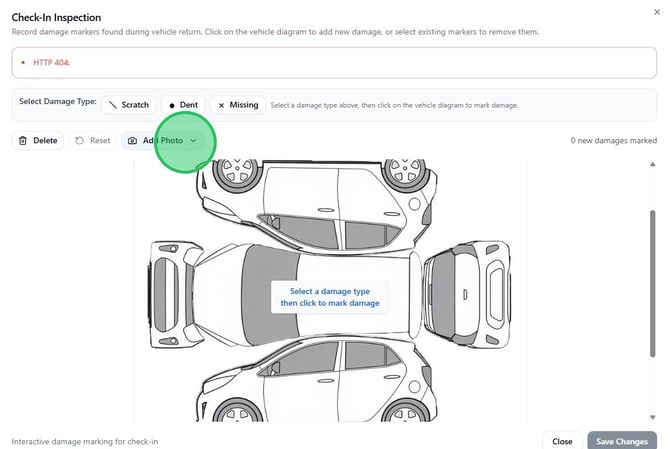
9. The Check-In Inspection dialog opens. Select a damage type — Scratch, Dent, or Missing — then click on the vehicle diagram to mark any damage. Use Add Photo to attach photos, and click Save Changes when complete.