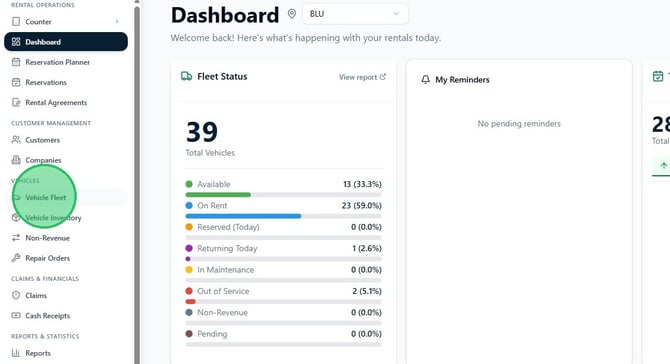
Navigate to Vehicle Fleet
1. From the sidebar, select Vehicle Fleet.
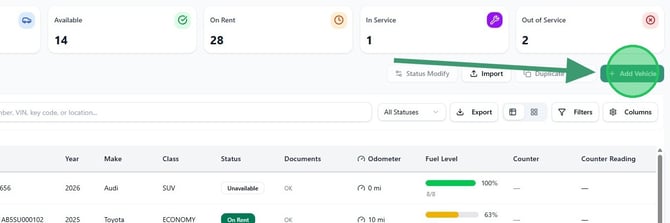
2. On the Vehicle Fleet page, click Add Vehicle.
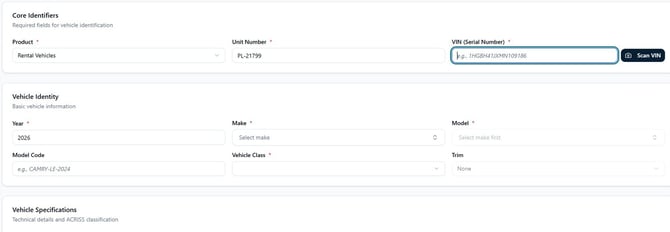
Complete the Core Identifiers
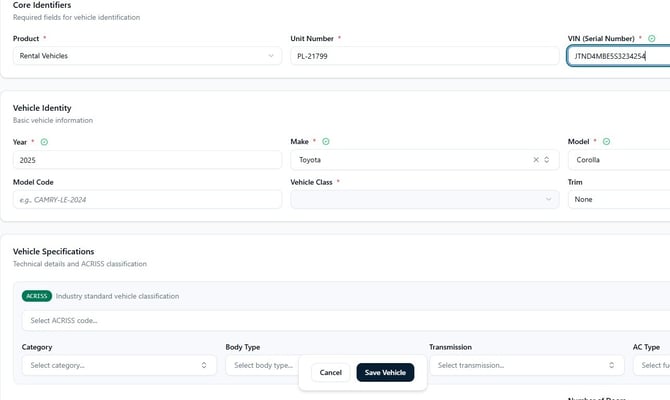
3. On the Add New Vehicle form, fill in the Core Identifiers section. Select a Product, enter a Unit Number, and enter or scan the VIN (Serial Number). Click Scan VIN to use your device camera to scan the barcode. Entering a valid VIN will auto-fill the Year, Make, Model, and other vehicle details in the sections below.
Complete the Vehicle Identity section
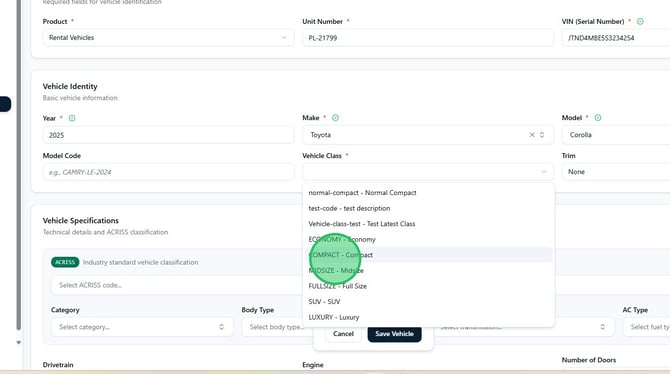
4. In the Vehicle Identity section, confirm or fill in Year, Make, Model, and Vehicle Class. If the VIN was scanned or entered, Year, Make, and Model will be pre-filled. Vehicle Class must be selected manually.
Complete the Vehicle Specifications section
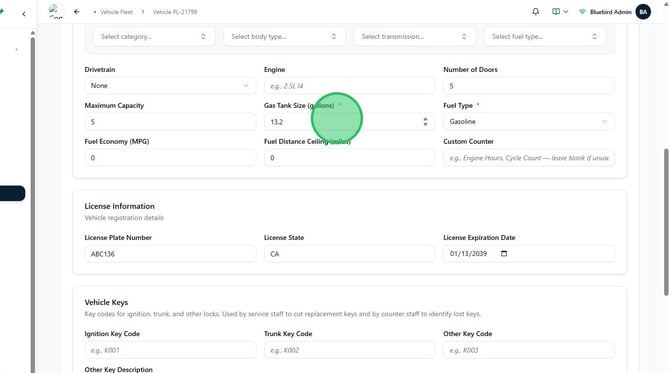
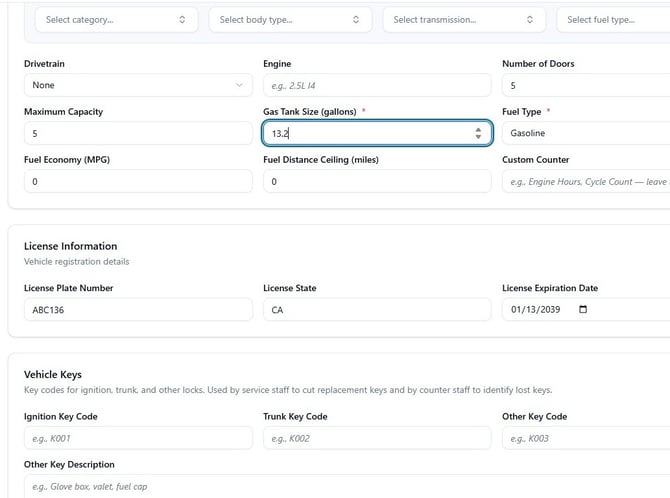
5. In the Vehicle Specifications section, fill in the Gas Tank Size (gallons) and Fuel Type — both are required. Optionally enter Fuel Economy (MPG), Fuel Distance Ceiling, and Custom Counter (e.g. Engine Hours). In the License Information section, enter the License Plate Number, License State, and License Expiration Date.
Complete remaining sections
6. In the Vehicle Keys section, enter key codes if applicable. In the Colors & Description section, enter the Exterior Color, Interior Color, and an optional vehicle description. Check Is Foreign Fleet Vehicle or Smoking Allowed in the Foreign Fleet & Miscellaneous section if applicable.
Save the vehicle
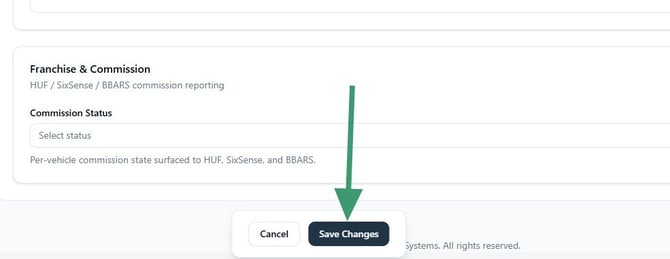
7. Once all required fields are complete, click Save Changes to add the vehicle to your fleet.