
Navigate to Repair Orders
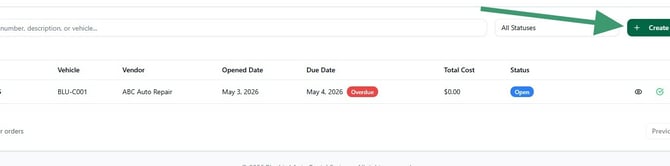
1. In the sidebar under Vehicles, click Repair Orders.
2. The Repair Orders list shows all existing orders with their vehicle, vendor, opened date, due date, total cost, and status. Click Create in the top right corner to open a new repair order.
Fill in basic information
3. The Create New Repair Order dialog opens. The RO Number is auto-generated and cannot be edited. The form is divided into four sections: Basic Information, Dates & Locations, Odometer Readings, and Costs.
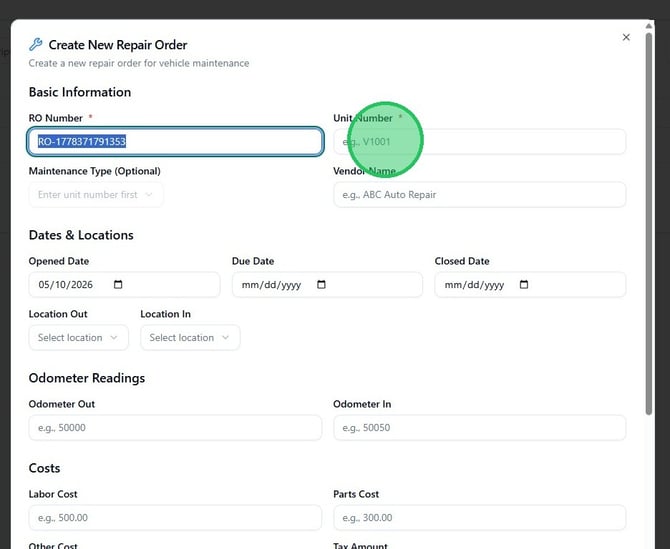
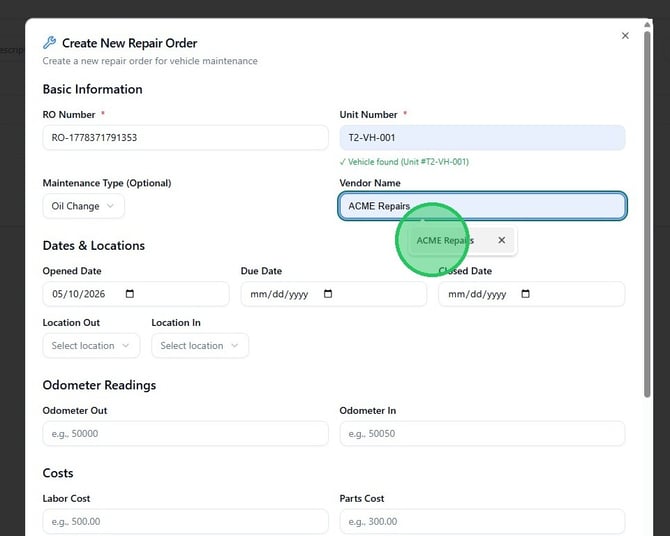
4. In the Unit Number field, type the vehicle's unit number. A dropdown appears with matching units — select the correct vehicle. A green Vehicle found confirmation appears below the field once a valid unit is selected. The Maintenance Type dropdown becomes active only after a unit number is entered.

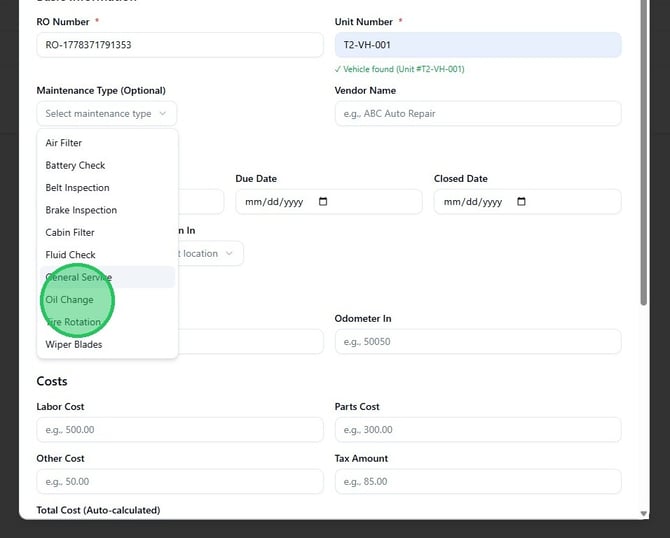
5. Click the Maintenance Type dropdown to select the type of work being performed. Available options include Air Filter, Battery Check, Belt Inspection, Brake Inspection, Cabin Filter, Fluid Check, General Service, Oil Change, Tire Rotation, and Wiper Blades. This field is optional but recommended for reporting.
6. In the Vendor Name field, type the name of the repair shop or service provider. Existing vendors appear as suggestions — select one or type a new name freehand.
Set dates and locations
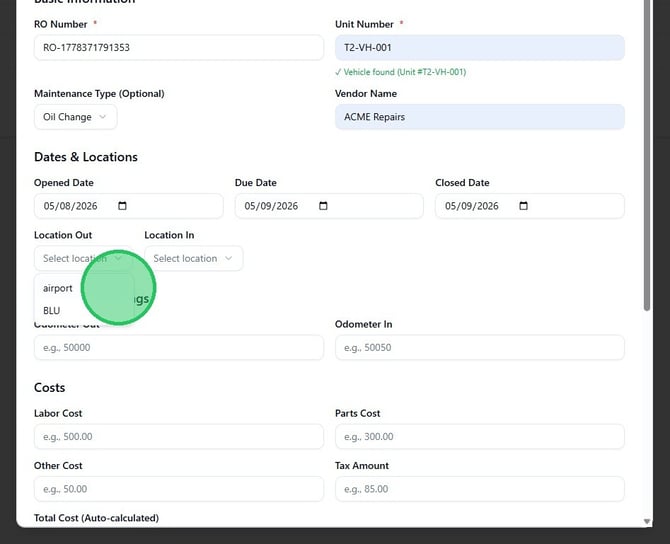
7. Enter the Opened Date, Due Date, and Closed Date. Opened Date defaults to today. Due Date is when the work is expected to be complete. Closed Date is when the vehicle was returned to service — leave it blank if the repair is still in progress. Use the Location Out and Location In dropdowns to record which location the vehicle left from and which it returned to.
Enter costs and description
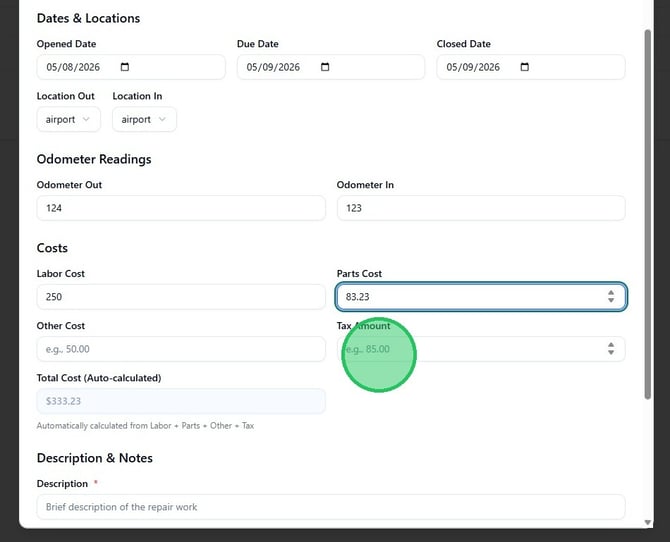
8. Under Odometer Readings, enter the odometer reading when the vehicle went out for service (Odometer Out) and when it returned (Odometer In). Under Costs, enter Labor Cost, Parts Cost, Other Cost, and Tax Amount as applicable. The Total Cost field calculates automatically from Labor + Parts + Other + Tax.
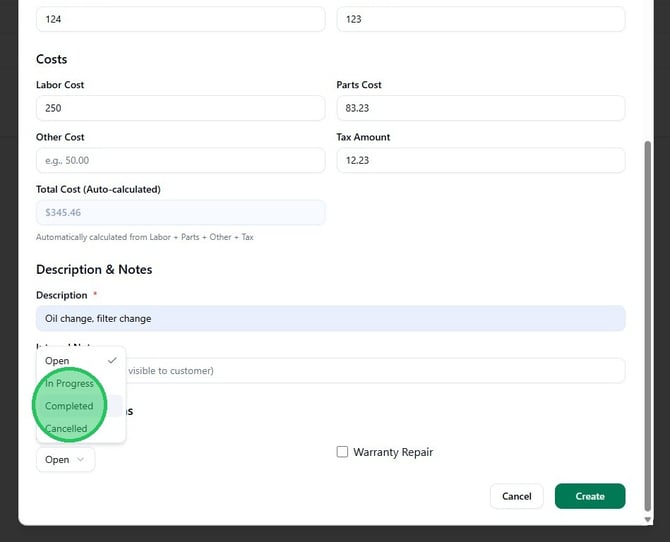
9. Under Description & Notes, enter a Description of the work performed — this field is required. Use Internal Notes for any additional context that should not be customer-facing. Under Status & Options, set the Status and check Warranty Repair if the work was covered under a vehicle warranty.

10. Click the Status dropdown to select the appropriate stage. Options are Open (work not yet started), In Progress (vehicle currently being serviced), Completed (work done and vehicle returned), and Cancelled.
11. Click Create to save the repair order. The record appears in the Repair Orders list immediately. A red AlertTriangle icon appears next to the vehicle's unit number on the Fleet, Rental Agreement, and Non-Revenue lists while the repair order is Open or In Progress, and clears once the order is Completed.