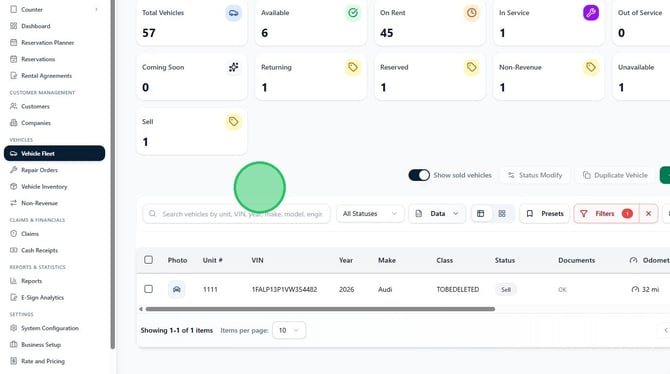
1. From the sidebar, select Vehicle Fleet under the Vehicles group.
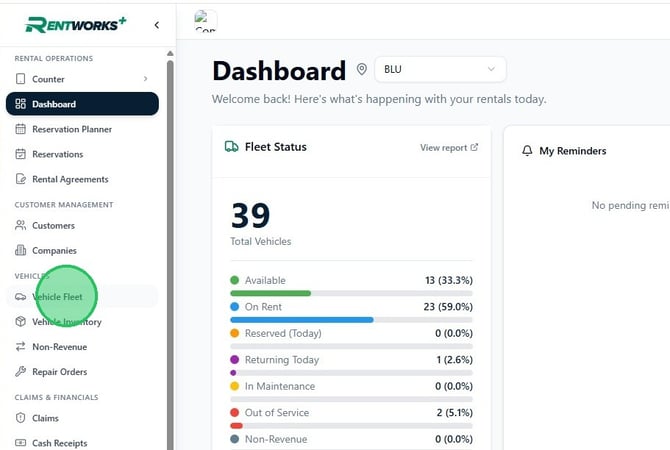
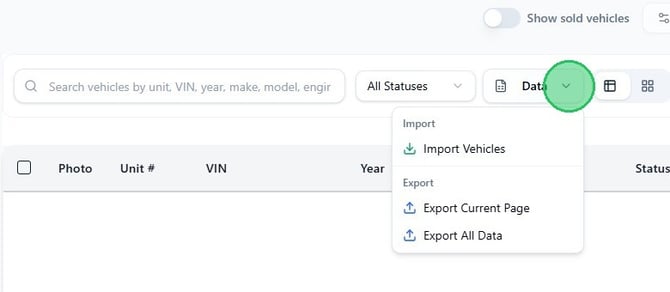
2. Click the Data dropdown in the toolbar, then click Import Vehicles.
Download and fill in the template
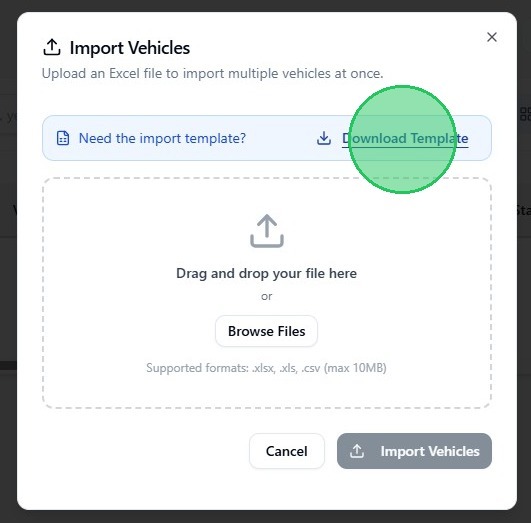
3. In the Import Vehicles dialog, click Download Template to get the official import spreadsheet. Open it in Excel or a compatible application before adding your data.
The template has one vehicle per row. Columns marked with an asterisk (*) are required — every row must have a valid value in each of these fields or the entire row will be rejected:
Unit Number * — Your internal unit identifier. Must be unique across your fleet.
VIN * — The vehicle identification number. Must be exactly 17 characters.
Year * — Four-digit model year (e.g. 2024).
Make * — Must match a make configured in your RentWorks+ catalog. The template includes a dropdown list of valid options.
Model * — Must belong to the selected Make. Use the dropdown in the template; the server re-validates this on import.
Product * — The rental product line this vehicle belongs to (e.g. VEHICLE, Trucks). Must match a configured product in your tenant.
Inventory Class * — The vehicle class used for rate matching and availability (e.g. ECONOMY, FULLSIZE, COMPACT). Must match a configured class in your tenant.
Initial Status * — The status the vehicle will carry when it lands in your fleet. Must match a configured status code for your tenant (e.g. available). Leaving this blank will cause the row to fail.
The remaining columns are optional. Key ones to be aware of:
Location — The location code the vehicle will be assigned to. Must match a registered location in your tenant; unknown codes are rejected. Leave blank if you'll assign the vehicle manually after import.
Odometer — Current odometer reading. Defaults to Miles if Odometer Unit is left blank; enter Kilometers in that column to switch units.
Fuel Level — Enter as a whole number from 0 to 8, where 8 = full (RentWorks+ measures fuel in eighths).
In-Service Date — Use YYYY-MM-DD format (e.g. 2026-04-23). A future date will automatically assign the vehicle a Coming Soon status unless Initial Status overrides it.
Trim — Free text. Must match a trim registered against the chosen Model in your catalog.
Foreign Fleet / Foreign Fleet Partner — Set Foreign Fleet to Yes and fill in the partner name. The partner field is only saved when Foreign Fleet is Yes.
Smoking — Enter Yes or No.
The template also includes optional sections for Acquisition Information, Acquisition Financials, Buy Back Program, Vehicle Disposition, Vehicle Financing, Depreciation, and Vehicle Valuations. Fill in only the columns relevant to your workflow — blank optional columns are ignored.
Format rules for all columns:
- Dates: YYYY-MM-DD or native Excel date cells
- Currency: plain number with no $ or comma separators (e.g.
24500.00) - Percentages: enter as 0–100, not a decimal fraction (e.g.
5.25for 5.25%) - Booleans:
YesorNo
Upload the completed file
4. Back in RentWorks+, open Data → Import Vehicles again. Drag your completed file onto the upload area, or click Browse Files and select it. Supported formats are .xlsx, .xls, and .csv (max 10 MB).
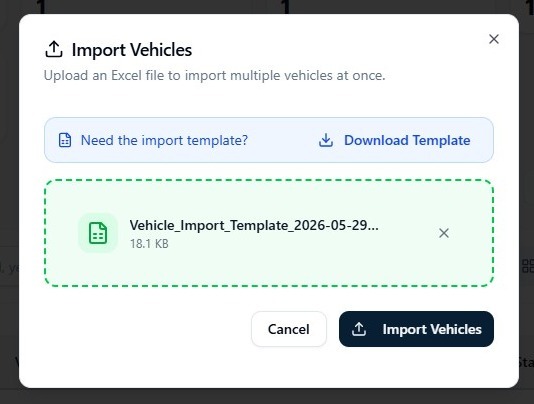
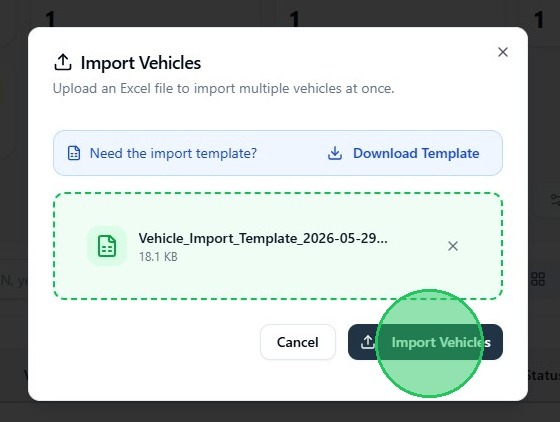
5. Once the file appears in the dialog, click Import Vehicles to begin processing.
Review the results
If any rows contain errors, the dialog shows an Import Failed summary listing the total rows attempted, the number imported, the number failed, and a per-row error message. Correct the flagged rows in your spreadsheet and re-import.
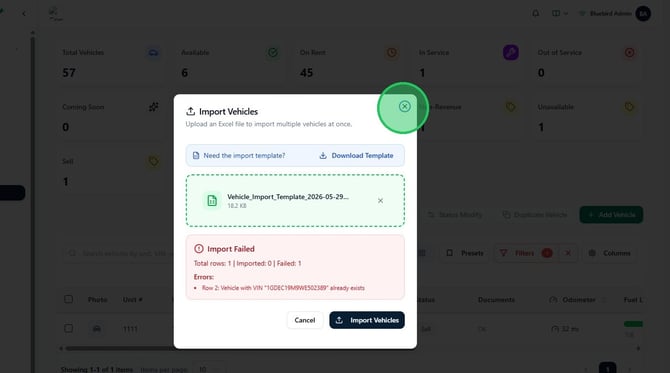
When the import completes successfully, close the dialog. The newly imported vehicles appear immediately in the Vehicle Fleet list.