When a customer walks up to your counter without a prior reservation, you can create their rental agreement on the spot. This guide covers every step: starting the checkout, adding the renter, choosing a vehicle and dates, applying a rate plan, reviewing, and emailing or downloading the final agreement.
Start the checkout
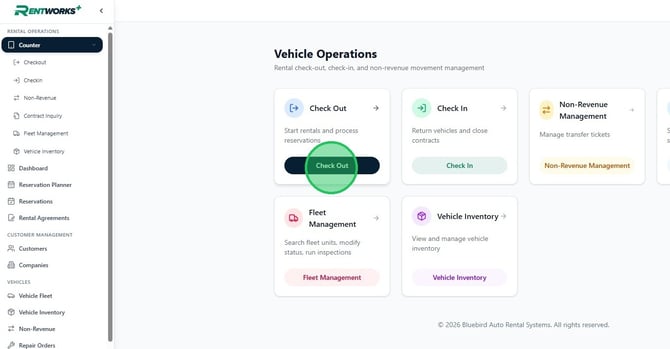
1. From the dashboard, click Check Out.
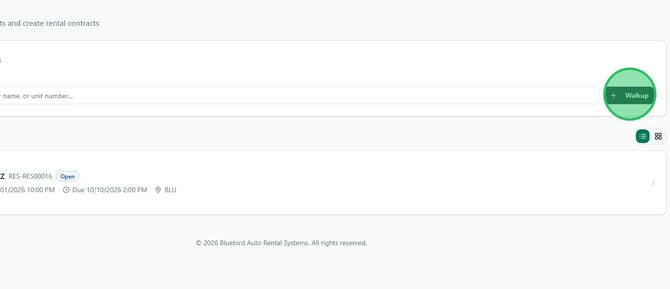
2. Click Walkup to start a new rental contract for a customer who's at the counter without a reservation.
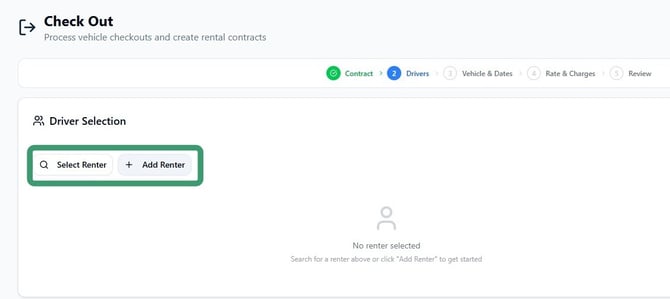
3. Click Add Renter to open the driver form. (For returning customers, click Select Renter instead and search for their existing profile.)
Add the renter
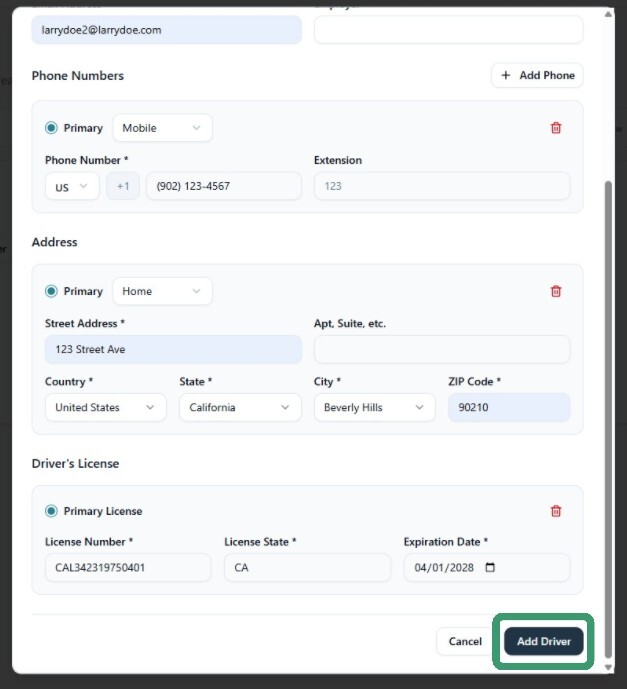
4. Enter the renter's full information — name, date of birth, email, phone, address, and driver's license details (number, state, and expiration). When everything's filled in, click Add Driver to save the profile to the contract.
Set the vehicle and dates
5. Click Vehicle & Dates to advance.
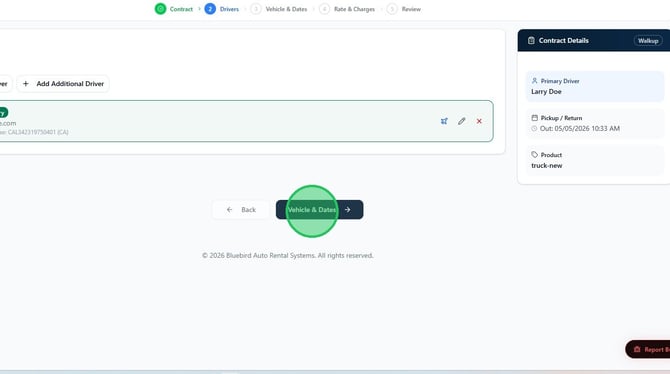
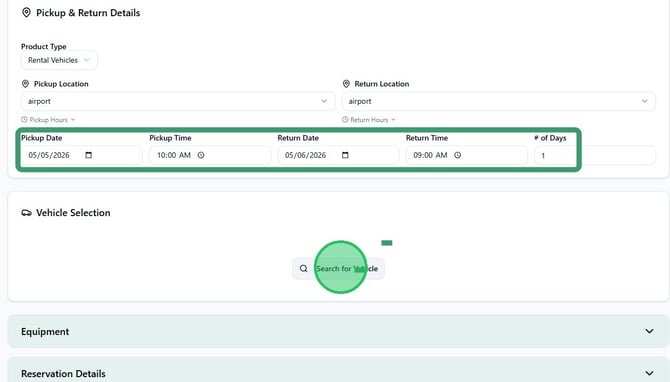
6. Confirm the Product Type, Pickup Location, and Return Location. These default to your terminal settings. Next, set the Pickup Date (defaults to the current date) and Pickup Time, then choose your Return Date and Return Time. Once all details are correct, click Search for Vehicle to view the available fleet.
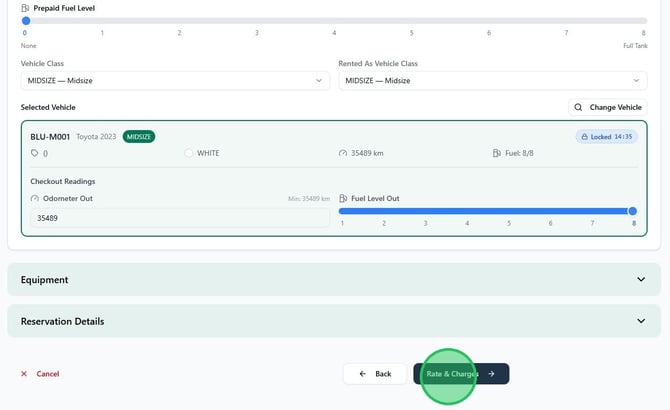
7. Click a vehicle to select it — the unit locks for 15 minutes while you complete the contract.
Once you've selected a vehicle, adjust the Odometer Out and Fuel Level Out, as needed
To add optional add-ons, expand the Equipment section and click Add Equipment to browse accessories like a GPS unit, child seat, or other items.
Click Rate & Charges at the bottom of the page to continue.
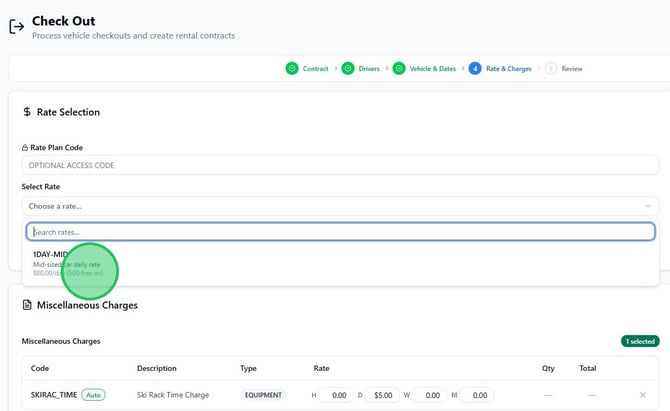
8. Select the Rate Plan that applies to this rental from the dropdown.
Review and finalize the contract
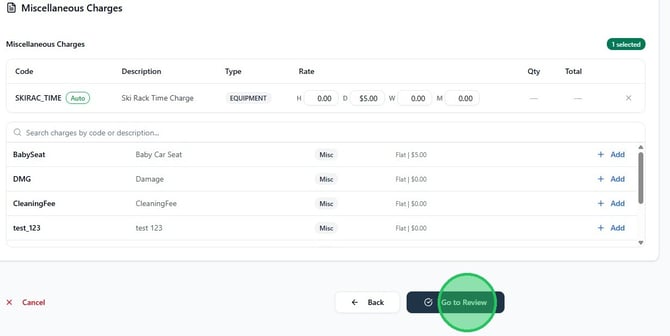
9. Click Go to Review to verify the contract details — renter, vehicle, dates, rate, equipment, and total.
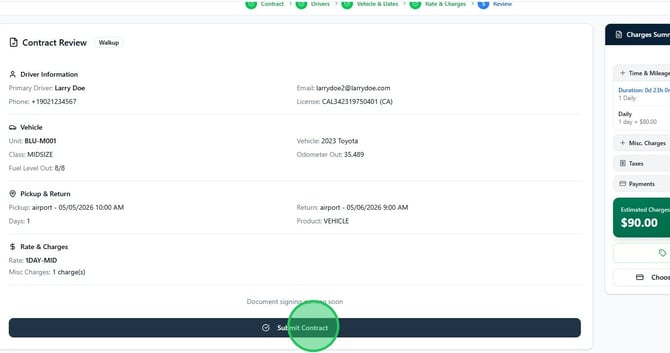
10. Once everything looks correct, click Submit Contract to finalize the rental agreement.
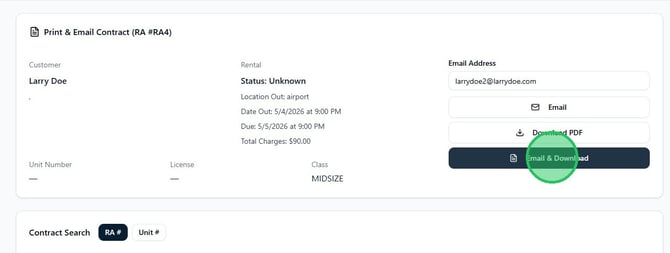
11. Enter the customer's Email Address, then click Email, Download PDF, or Email & Download to deliver a copy of the rental agreement.