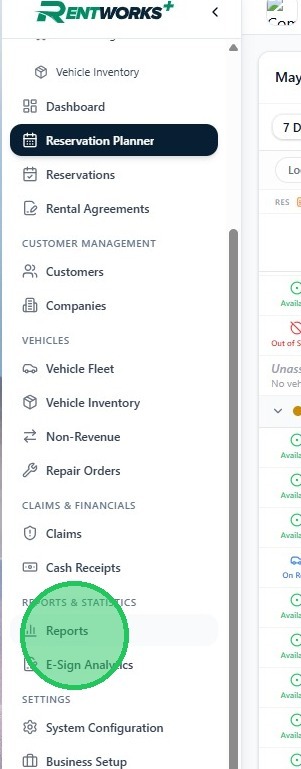
Navigate to Reports
1. From the sidebar, select Reports.
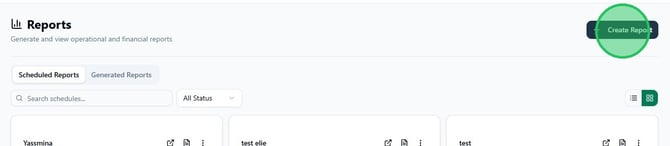
2. The Reports page opens showing your Scheduled Reports and Generated Reports tabs. To run a new report, click Create Report.
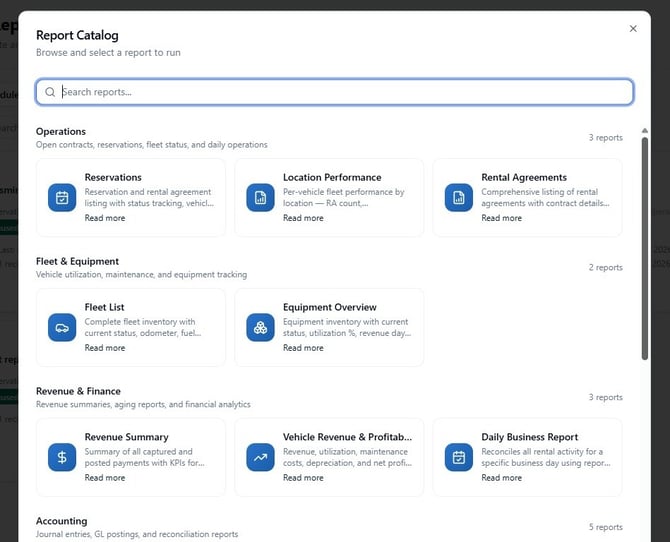
Select a report
3. The Report Catalog lists all available reports organized by category — Operations, Fleet & Equipment, Revenue & Finance, Accounting, and more. Browse the categories or use the search bar to find a report by name, then click on it to open it.
Set filters and run the report
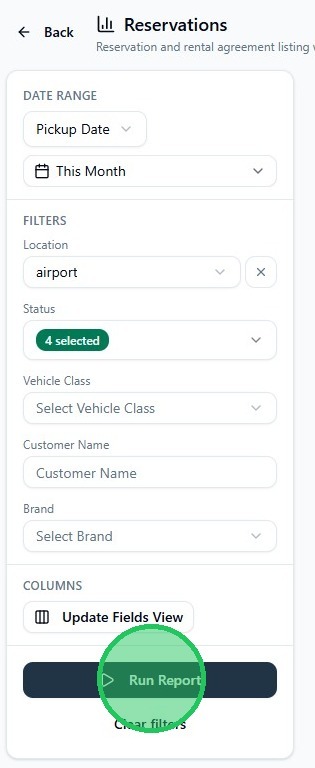
4. Each report has its own set of filters, including a Date Range preset, and options such as Location, Status, Vehicle Class, and others depending on the report type. Set your filters, then click Update Fields View under the Columns section to choose which columns appear in the results.
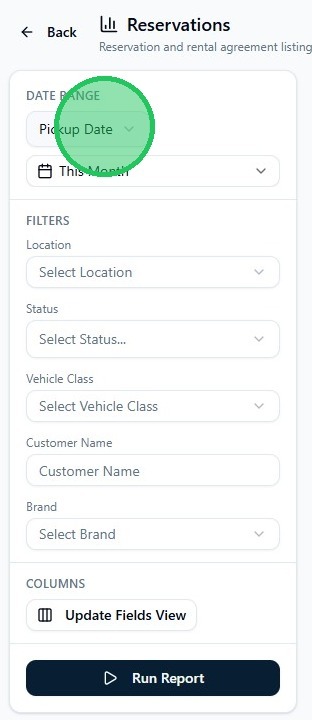
5. Click Run Report to generate the results.
Export the results
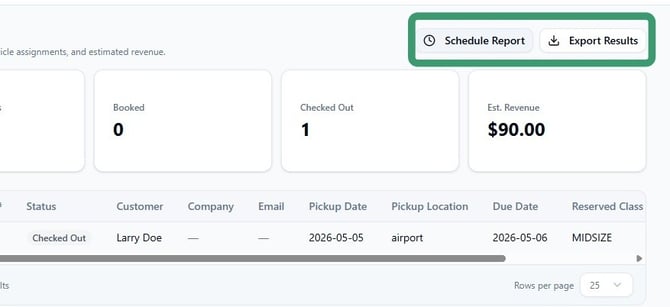
6. Once the report has been created, you can set up a recurring schedule or export the results by clicking on Schedule Report or the Export Results option.
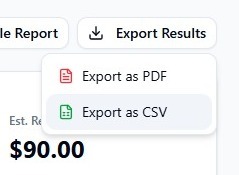
To export your data to a PDF or CSV file, click Export Results and choose Export as PDF or Export as CSV. The file will download to your computer.
Export as options are shown below:
Schedule a recurring report
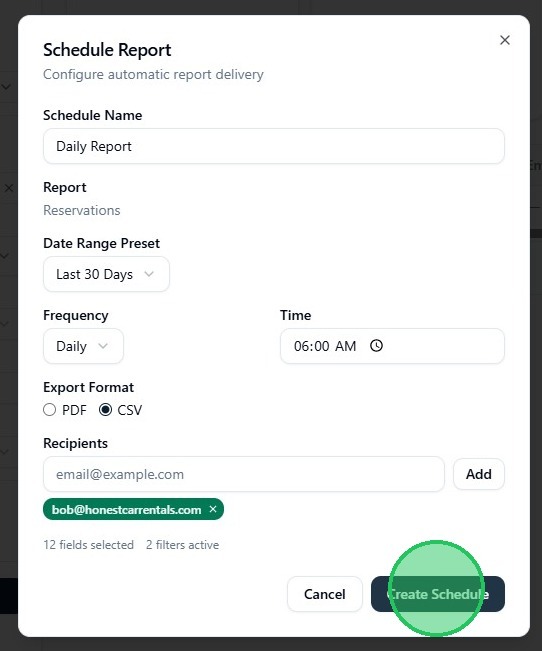
7. To set up automatic delivery of a report, click Schedule Report from the results view (shown in step 6). In the Schedule Report dialog, enter a Schedule Name, select a Date Range Preset, set the Frequency (Daily, Weekly, or Monthly) and Time, and choose PDF or CSV as the export format.
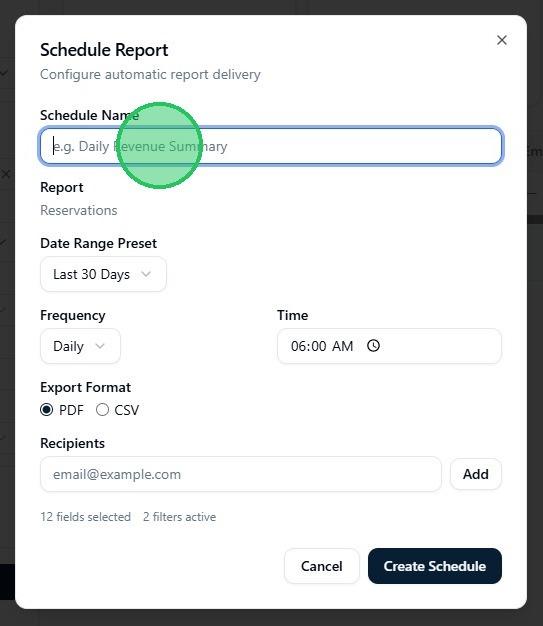
8. In the Recipients field, enter each email address and click Add. Once all recipients are added, click Create Schedule. The report will run automatically on the schedule you set and be delivered by email.