
System Configuration is the administration hub for org-wide settings in RentWorks+. From the sidebar, select System Configuration to expand the menu. The sections available are Vehicle Commission Statuses, Integrations, Security, Field Management, Notifications, Message of the Day, Brands, Brand Analytics, System Settings, Branding, and Database. Access to some sections may be limited by your role.
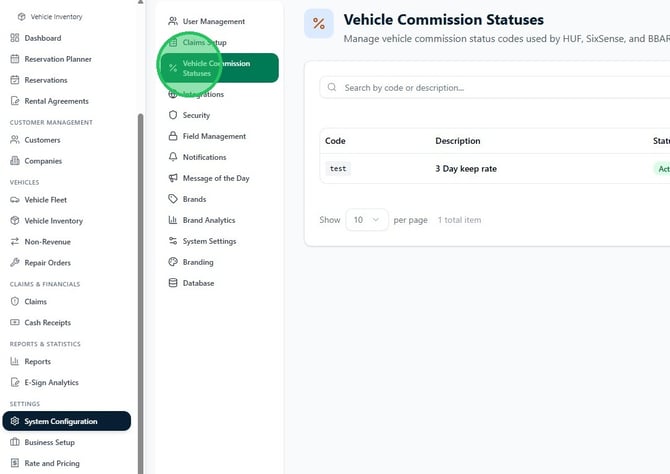
Vehicle Commission Statuses
Vehicle Commission Statuses is the first item in the menu. This section lets you manage the commission status codes used for franchise reporting workflows including HUF, SixSense, and BBARS. Each status has a code, a description, and an active/inactive toggle. Statuses can be created, edited, or deactivated from this page.
Integrations
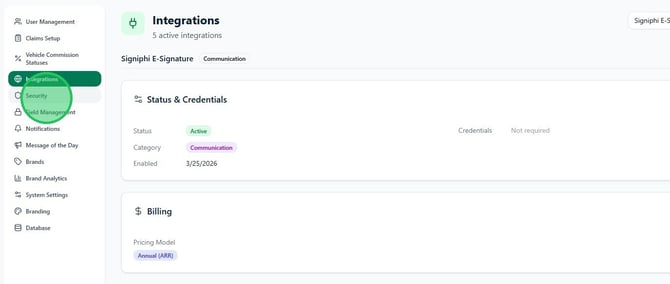
1. Click Integrations to view all active third-party integrations for your tenant. Each integration shows its Status, Category, Enabled date, and billing details. Tabs across the top of the page group integrations by type — for example, Signiphi E-Signature and Communication.
Security
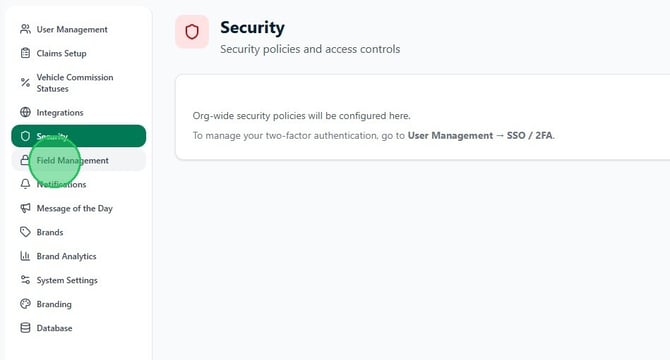
2. Click Security to open the security policies and access controls page. This section is where org-wide security settings will be configured. To manage two-factor authentication, go to User Management → SSO / 2FA.
Field Management
Field Management has two tabs: Field Access and Custom Field.
Field Access lets you control which fields agents can see and interact with on a given screen, based on their role.
3. Click Field Management in the sidebar. On the Field Access tab, open the Select Screen dropdown and choose the screen you want to configure — for example, Customers, Vehicles, Reservations, Rental Agreement, or Non-Revenue.
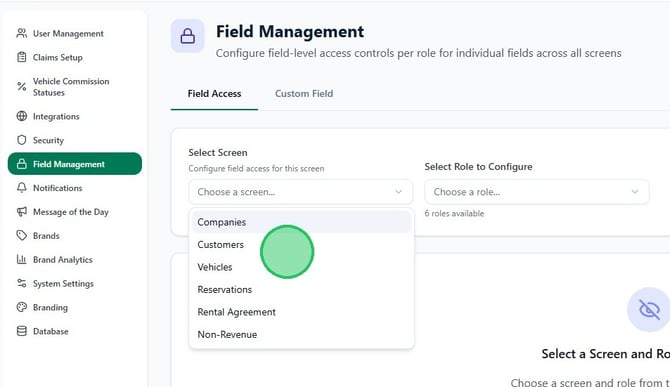
4. Open the Select Role to Configure dropdown and choose the role — for example, Agent, Manager, or Staff. Click Save Changes to apply any permission adjustments for that screen and role combination.
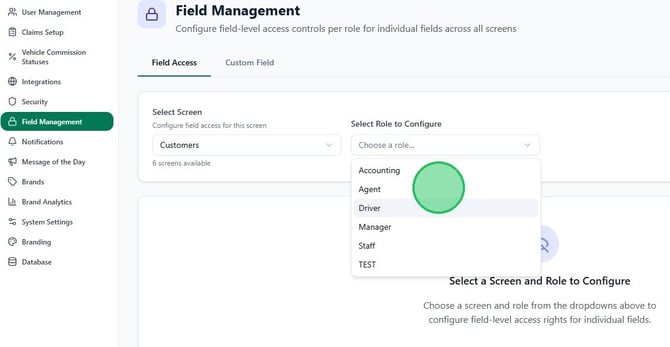
Custom Field lets you add extra data fields to entity screens across the platform.
5. Click the Custom Field tab. Open the Select Screen dropdown and choose the screen to configure — for example, Vehicles, Customers, or Reservations.
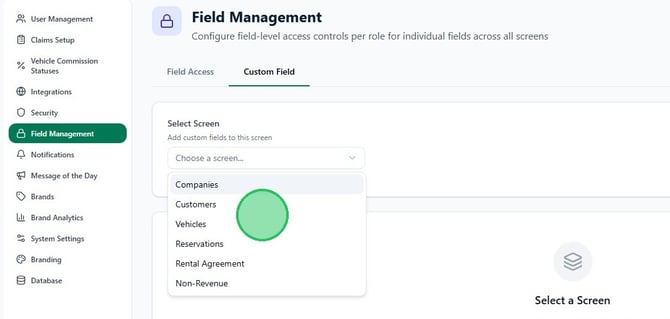
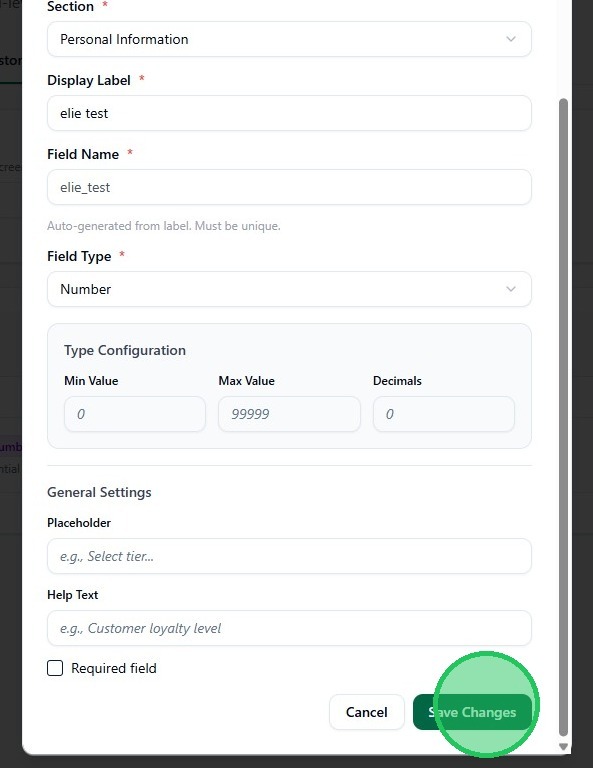
6. Click + Add Custom Field. In the form that opens, fill in the Section, Display Label, and Field Type. Set any type-specific constraints such as minimum and maximum values, add optional Placeholder and Help Text, and check Required field if the field should be mandatory. Click Save Changes to add the field to that screen.
Notifications
The Notifications page manages automated and manual notifications sent to renters and staff. It has four tabs: Settings, Delivery Logs, Manual Notifications, and History.
7. Click Notifications in the sidebar. On the Settings tab, the left panel lists all notification types grouped by category — Reservations, Rental Agreements, and others. Click any notification to open its configuration on the right. Each notification has a master Notification Enabled toggle and individual channel toggles for Email, SMS, and Internal notifications. The Timing / Process Rules section lets you add schedule rules to control when the notification fires.
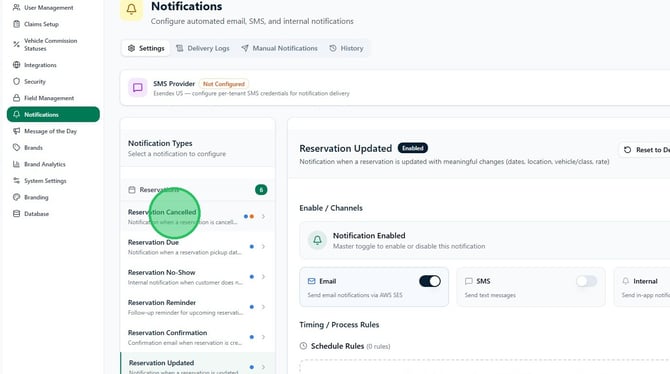
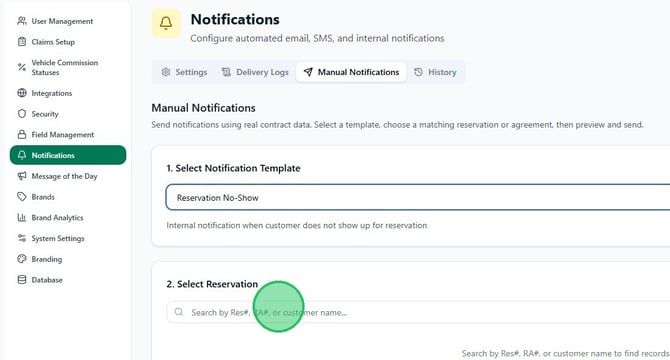
8. Click the Manual Notifications tab to send a one-off notification using live contract data. Under 1. Select Notification Template, choose a template from the dropdown. Under 2. Select Reservation, search by reservation number, rental agreement number, or customer name to find the record you want to send the notification against.
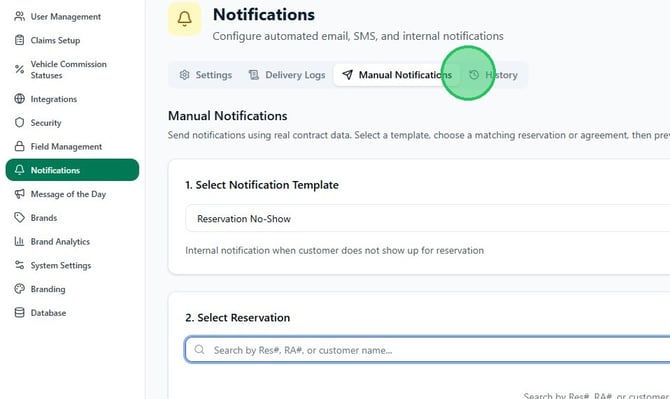
9. Click the History tab to review a log of all notifications that have been sent, including delivery status.
Message of the Day
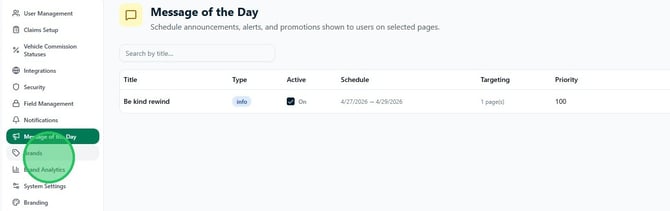
10. Click Message of the Day to manage scheduled announcements shown to staff on specific pages. Each message has a title, type, active toggle, schedule, page targeting, and priority. Click any existing message to edit it, or add a new one to display announcements on pages such as Counter Check-Out, Check-In, or Contract Modify.
Brands
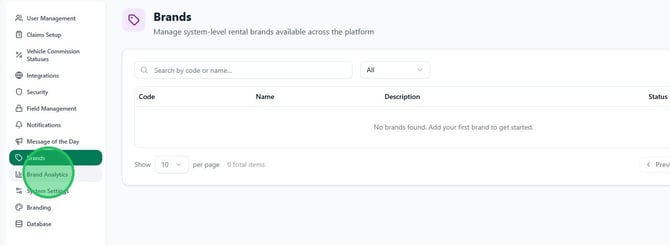
11. Click Brands to manage the rental brands available across the platform. Each brand has a code, name, description, and active status. Brands are used to segment rental activity and can be assigned to locations and transactions.
System Settings
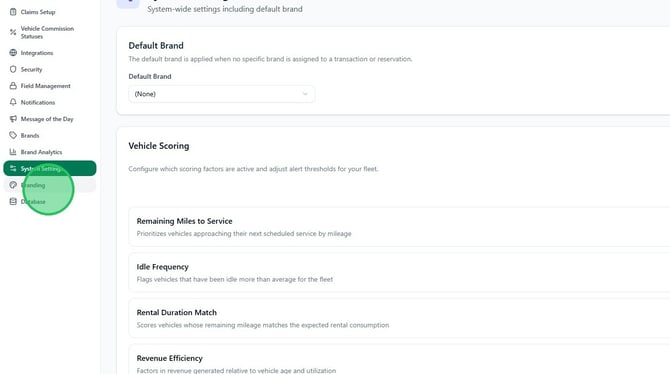
12. Click System Settings to configure org-wide defaults. The Default Brand section lets you set the brand applied when no specific brand is assigned to a transaction or reservation. The Vehicle Scoring section lets you activate and weight the scoring factors RentWorks+ uses to rank available vehicles — including Remaining Miles to Service, Idle Frequency, Rental Duration Match, and Revenue Efficiency.
Branding
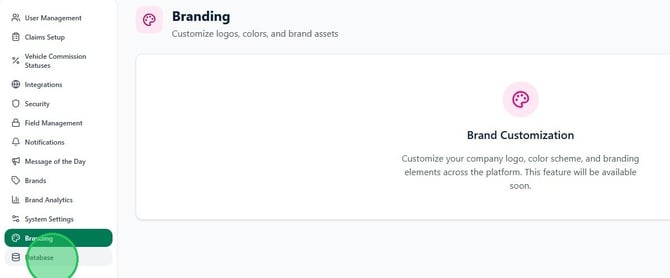
13. Click Branding to access logo, color scheme, and brand asset customization for the platform. This feature is not yet active.
Database
Click Database to access database-level administration tools. This section is intended for system administrators.