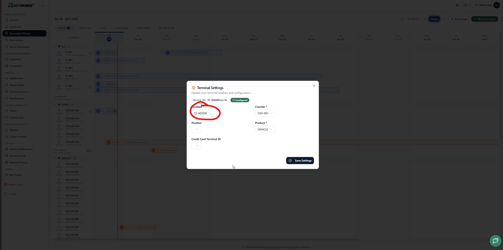
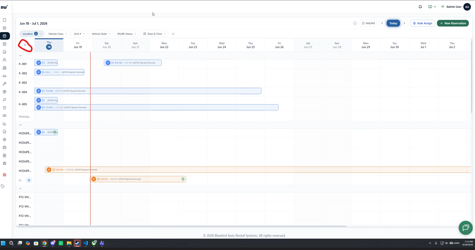
1. The location filter now defaults to the location set in your terminal settings, so the Reservation Planner opens pre-filtered to your branch automatically.
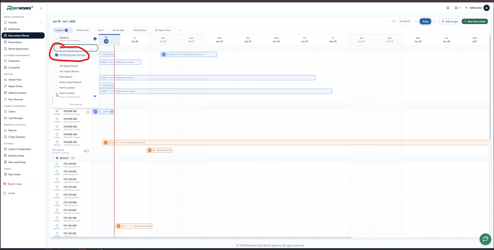
2. The location filter has been split into two separate fields: Check-In Location and Check-Out Location. This makes it easier to see and filter one-way rentals.
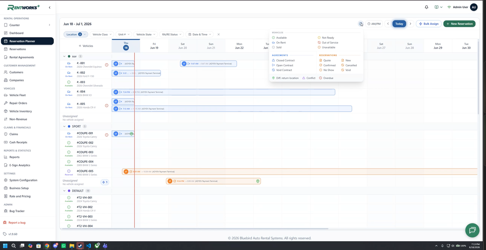
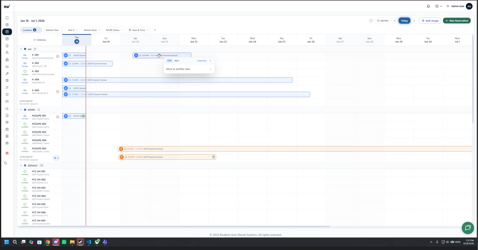
3. For one-way contracts where the check-in and check-out locations are different, a green icon now appears on the contract bar in the planner. Click the i icon in the toolbar to see a legend explaining all icons, including this one.
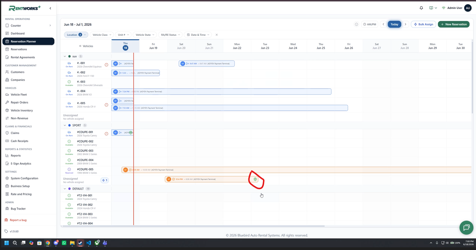
Additional Filter Improvements
4. The Vehicle Type filter has been renamed to Vehicle Class to match the terminology used throughout the rest of the system.
5. A Unit Number filter has been added. Type at least the first two characters of a unit number to display matching vehicles.
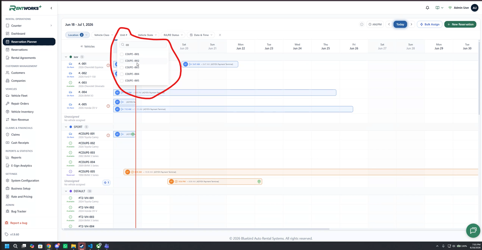
6. The Vehicle State filter options have been corrected and now display the proper status labels.
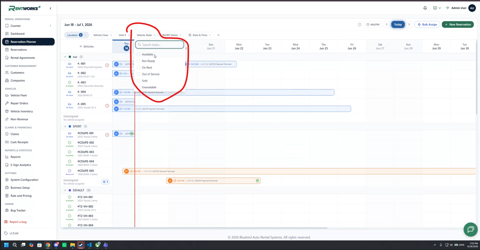
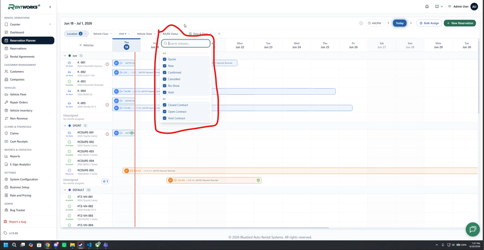
7. The Contract Status filter now separates RA (Rental Agreement) and RE (Reservation) statuses into their own groups.
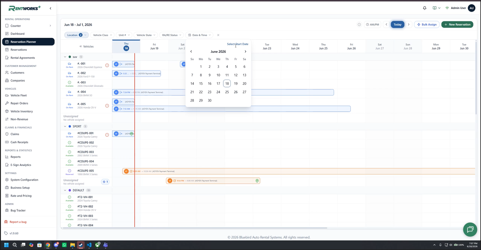
8. The date and time filter has been updated with a new calendar picker UI. Select a start date, end date, and time range, then click Save to apply the filter.
Other Interface Changes
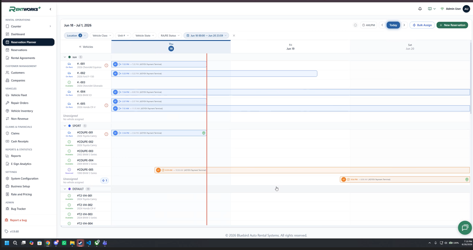
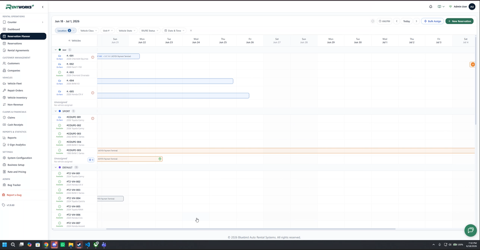
9. The 7-day view option has been removed. The planner now shows a fixed 15-day view. Scroll horizontally to load one additional week at a time.
10. The Previous and Next navigation arrows beside the Today button now move the view week by week.
11. An i icon has been added to the toolbar. Click it to open a legend explaining every icon and color used in the Reservation Planner.
12. Vehicle rows can now be collapsed to reduce clutter. Click the collapse control on any vehicle section header to hide its rows.
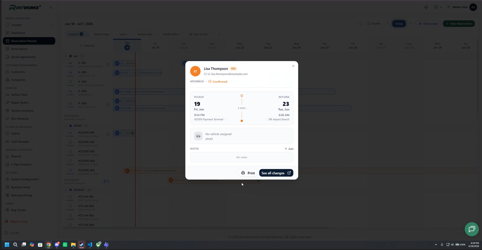
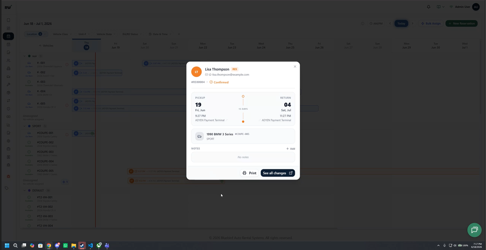
13. The hover summary popup has been removed. To view a contract summary, double-click the contract bar. This opens the same summary panel that was previously available on hover.
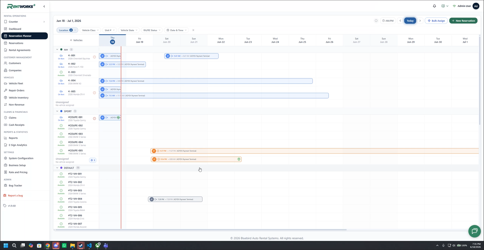
14. The Today button now changes color based on your current view. It appears blue when the planner is showing today's date, and white when you have navigated away.
Moving Contracts
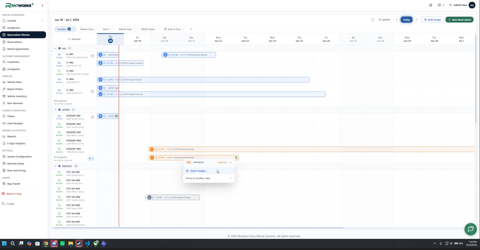
In addition to drag and drop, you can now right-click any contract bar to access vehicle assignment options.
1. Right-click a contract bar to open the context menu. The options available depend on the contract type.
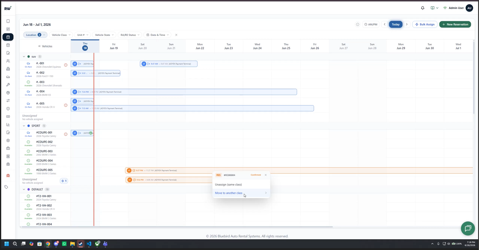
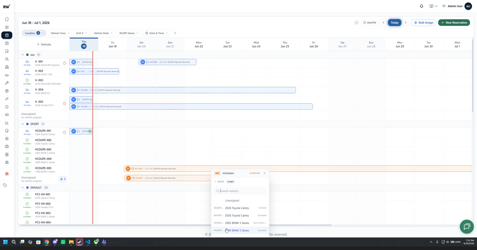
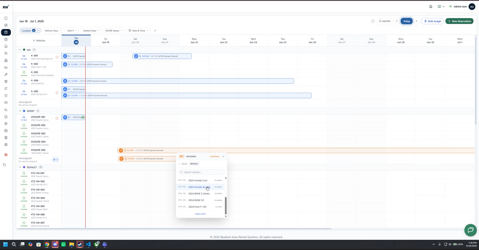
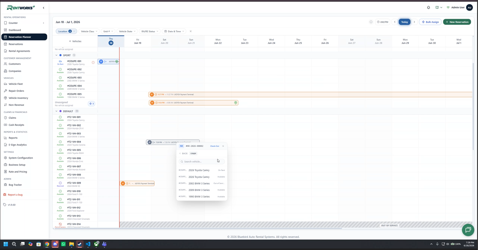
2. Select Change Vehicle to open the vehicle class list. The current class is always shown at the top. Select a class to see the vehicles available within it.
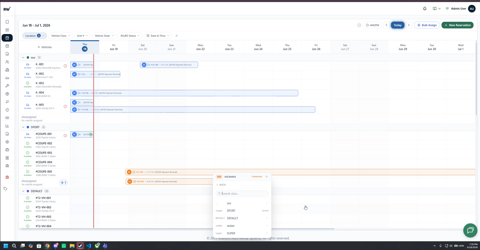
3. Once you select a class, the vehicle list appears. You can pick a vehicle from the list or search by name. The vehicle currently assigned to the contract is shown but is not selectable.
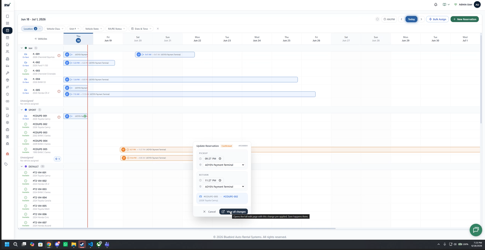
4. After selecting a vehicle, a confirmation dialog opens showing the contract details and the proposed change. Review the update and click Apply Changes to confirm. You will be redirected to the edit page to finalize, then returned to the Reservation Planner.
5. To move a contract to a different class entirely, select a different class from the class list. All vehicles in that class will be displayed.
6. The Unassign option is only available for reservations (RE). It does not appear when right-clicking a Rental Agreement (RA) or Non-Revenue (NR) contract.
Automated Assignment
The Reservation Planner includes two automated vehicle assignment tools: Smart Assign and Bulk Assign.
Smart Assign
Smart Assign suggests the best vehicle for a single unassigned reservation based on a scoring system.
1. When an unassigned reservation is visible in the planner, click the Smart Assign button on that reservation's row.
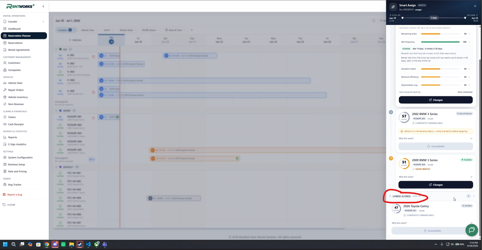
2. A panel opens on the right showing the top vehicle suggestions, each with a score. The highest-scoring vehicle appears first. If two vehicles have equal scores, they are listed in order of availability.
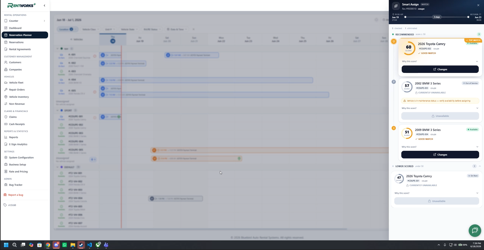
3. Click Why this score on any suggestion to expand a breakdown showing exactly how the score was calculated.
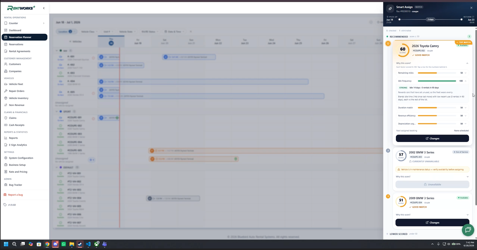
4. Vehicles with a score below 50 appear in a Lower Scores section at the bottom of the list. Unavailable vehicles are shown but cannot be selected.
Bulk Assign
Bulk Assign runs the scoring system across all unassigned reservations for a class and proposes vehicle assignments in one operation.
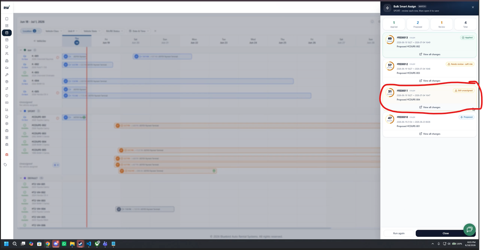
1. The Bulk Assign button is available in two places: in the toolbar at the top of the planner, and next to the unassigned count for each vehicle class. Clicking it from a class row pre-selects that class automatically.
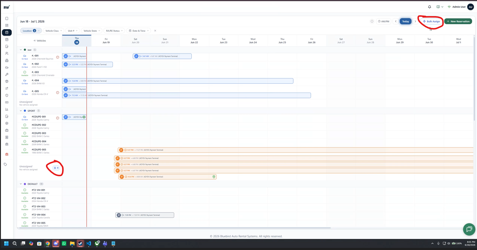
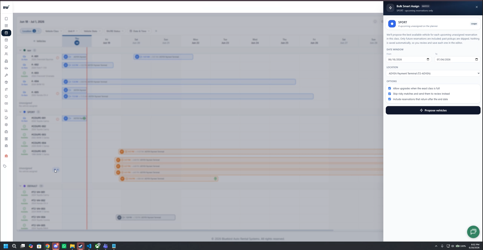
2. The Bulk Assign panel opens. You can optionally set a date range to limit which reservations are included. Three options are available:
- Allow upgrades — if no vehicles are available in the requested class, the system can assign a vehicle from a higher class.
- Skip risky vehicles — vehicles with upcoming maintenance or that only recently became available are excluded from suggestions.
- Include reservations with check-in outside the filter range — includes reservations where the check-out date falls within the selected range, even if the check-in date does not.
Click Propose Vehicles when ready.
3. The results panel shows a proposed vehicle assignment for each reservation. Review each suggestion, then click See All Changes to go to the edit page and apply it. Once applied, the row turns green.
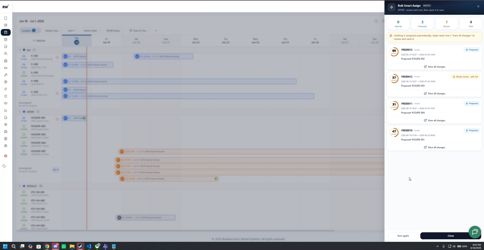
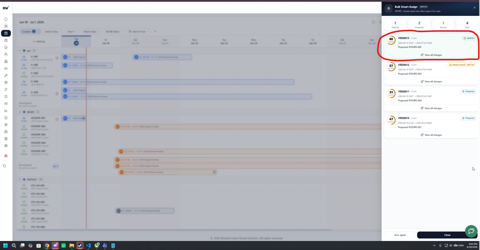
4. If you navigate away from the edit page without applying the changes, the suggestion is dismissed and the row is shown in orange. You can rerun Bulk Assign at any time using the Run Again button.